
Implement the risk policy in Azure AD
Organizations may view the security posture of any account
using the Identity Protection service. Organizations are capable of three
essential responsibilities.
·
Automate the identification and elimination of threats
based on identity.
·
Use the portal's data to research dangers.
·
Export risk detection data to outside tools for
additional investigation.
Do not forget that an Azure AD Premium P2 license is
necessary for Azure Active Directory (Azure AD), which is a component of
Microsoft Entra Identity Protection, to function. In a subsequent unit,
licensing is explored in more depth.
Log in to the Azure portal.
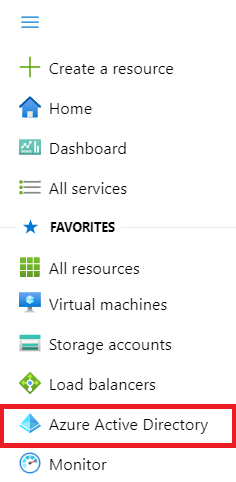
Select Azure Active Directory by clicking the portal menu.
Under Manage on the Azure Active Directory blade, choose Security.

On the Security Blade, in the left navigation, select Identity Protection.

Select the User risk policy from the left menu of the Identity Protection blade.

Users:
Select All users under Assignments and look over the
choices. If you want to limit your rollout, you can choose between Select
persons and groups and All users. In addition, you have the option of excluding
certain users from the policy.
User risk:
Choose Low and above under "User risk."
Select High in the User risk window, and then click Done.
Controls:
Select Block access from the Controls menu, then click Access.
Look at the choices in the Access pane.
Require password change by checking the box, then click Done.
Select Save after choosing on under Enforce Policy.
Activate
the sign-in risk policy
Select the Sign-in risk policy from the left menu on the
Identity protection blade.

Users:
The Sign-in risk policy is similar to the User risk policy in that
it may be given to users and groups while also allowing you to exclude specific
users from the policy.
User
risk: Choose Medium and above under
"Sign-in risk."
Select High in the Sign-in risk pane, and then click Done.
Controls:
Select Block access from the Controls menu, followed by Access.
Check the box next to "Require multifactor
authentication," then click "Done."
Select Save after choosing Enforce Policy.
Summary:
In this article we learned How to do Implement
the risk policy in Azure AD, in our next article we will learn how to do Practice
configuring the multi-factor authentication registration policy for Azure
Active Directory.
0 Comments